This is the easiest ‘cake’ you can make. Actually, it’s not really a cake, and you don’t bake it. Typically, an icebox cake is “cooked” in the icebox (or refrigerator as we now call it).
The classic icebox cake is made with Nabisco Famous Chocolate Wafers, but when we read the ingredient list, we knew we needed to make a change. The wafers are made with trans fats (shortening), high fructose corn syrup, dextrose and artificial flavors. No thank you!
So, we decided to make our cake with organic Mi-del Chocolate Snaps, which contain real sugar and no trans fats or artificial ingredients. Mr. Midel started making these cookies from Mrs. Midel’s recipes in 1947 and the only changes have been for the better–using organic ingredients and adding more choices including some gluten-free cookies. We’re big fans of food companies that make real food! (NOTE: If you can’t find these cookies, look for chocolate graham crackers, like Pamela’s Gluten Free Grahams. We’ve used these successfully in the dessert, and our gluten-free friends loved it!)
However, there is one drawback to using Mi-del snaps. They’re made to be snappy or rather crisp, so you do need to let the cake stand in the refrigerator longer. It’s worth the wait though! Yum! We were so excited after making (and eating) our super simple Chocolate-Strawberry Icebox Cake, we made it again with Mi-del Lemon Snaps and lemon zest. Even the family members who usually turn up their nose at lemon desserts asked for seconds! (See Lemon Icebox Cake.) Next on our list is using Gluten-Free Mi-del Ginger Snaps and topping the cake with crystallized ginger. Doesn’t that sound good?
We did make another change that we should mention. The original style of icebox cake is made with the wafers stacked up high (maybe 6-8 layers) then turned on the side and covered with whipped cream. With Mi-del snaps, we couldn’t do that. We just made a few layers of cookies and cream in our 8×8-inch baking dish (part of our Finite Foodie’s limited supplies). It seemed to work well; no one complained as they piled up seconds on their plates. The only problem: you won’t have any leftovers!
| Prep Time | |
| 10 minutes |
| Passive Time |
| 24 hours |
|
|

Easy!
Moderate
Serves:9
Serving Size:1/9th of the cake
|
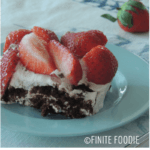
Try this healthier version of the classic chocolate icebox cake using organic Mi-del Chocolate Snaps, real whipped cream and fresh strawberries or raspberries. It's heavenly!
Tools:large bowl, electric mixer (or whisk), 8x8-inch baking dish, for optional topping—knife and cutting board, medium bowl, measuring spoon
|
- 1 pint heavy cream (2 cups)
- 1 (10-ounce) package Mi-del Chocolate Snaps or chocolate graham crackers
- 2 cups strawberries or raspberries
- 1 tablespoon sugar (optional)
- Whip* cream in a large bowl with an electric mixer, or by hand with a whisk, until soft peaks just begin to form. (Don't over whip, or the cream will not soften the cookies very well.)
- Spread a very thin layer of whipped cream on the bottom of the baking dish, so the cookies will have something to stick to. Arrange cookies side by side, to form a single layer but not overlapping (there will be gaps). Spread about a third of the whipped cream over them. Make sure there are no air pockets.
- Make another layer of cookies, pressing down a bit, then another layer of cream, leaving half of the cream for the final topping.
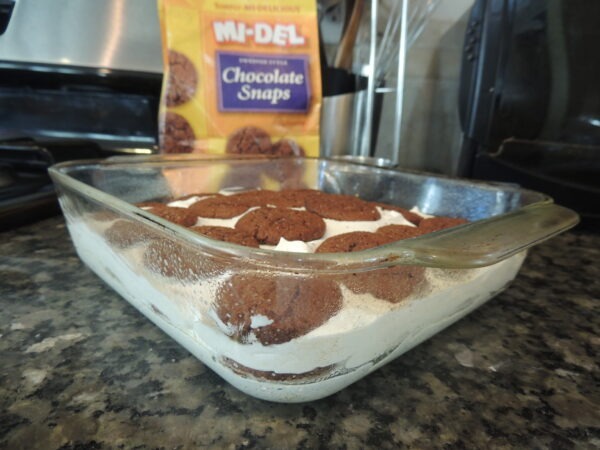
- Add the last layer of cookies (which should finish off the package, but if not, pop them in your mouth before anyone looks). Top with the remaining cream, spreading out evenly, leaving a smooth finish. Check again for air pockets.
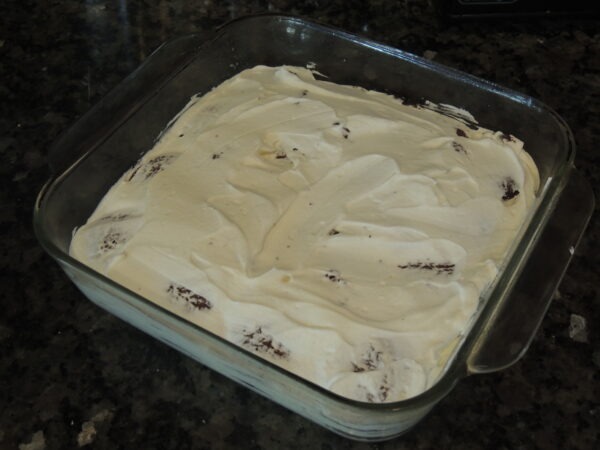
- Cover and refrigerate overnight. (You can serve it after 12 hours, but 24 hours is best.)
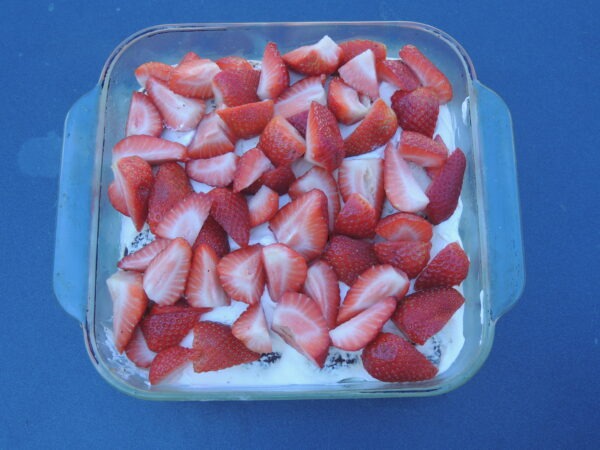
- If topping with strawberries, cut into quarters first. Place berries in a medium bowl, and sprinkle with 1 to 2 tablespoons sugar. Let stand to soften and bring out juices (macerate).
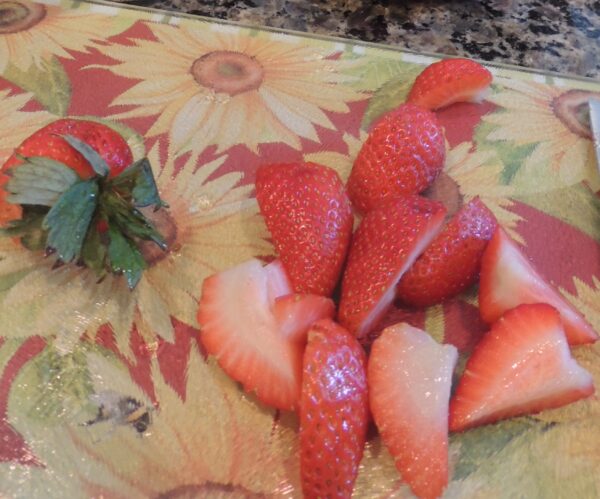
- Right before serving, garnish the whole dessert (or each serving) with berries. Alternatively, leave out the berries and dust with cocoa powder.
*Terminology: Whip – to beat vigorously with a whisk or electric mixer, in order to incorporate air into the food, rendering it light and fluffy. Examples: Cream and egg whites.
*Tip: For best results, do not whip cream in a plastic bowl—use a glass or metal bowl. Chef’s recommend chilling the metal bowl and beaters (or whisk) before whipping, but we have to admit that we’ve never done so. However, the colder everything is, including the cream, the fluffier it will be. It will also hold air longer and not separate as quickly.
VARIATION:


Leave a Reply
You must be logged in to post a comment.