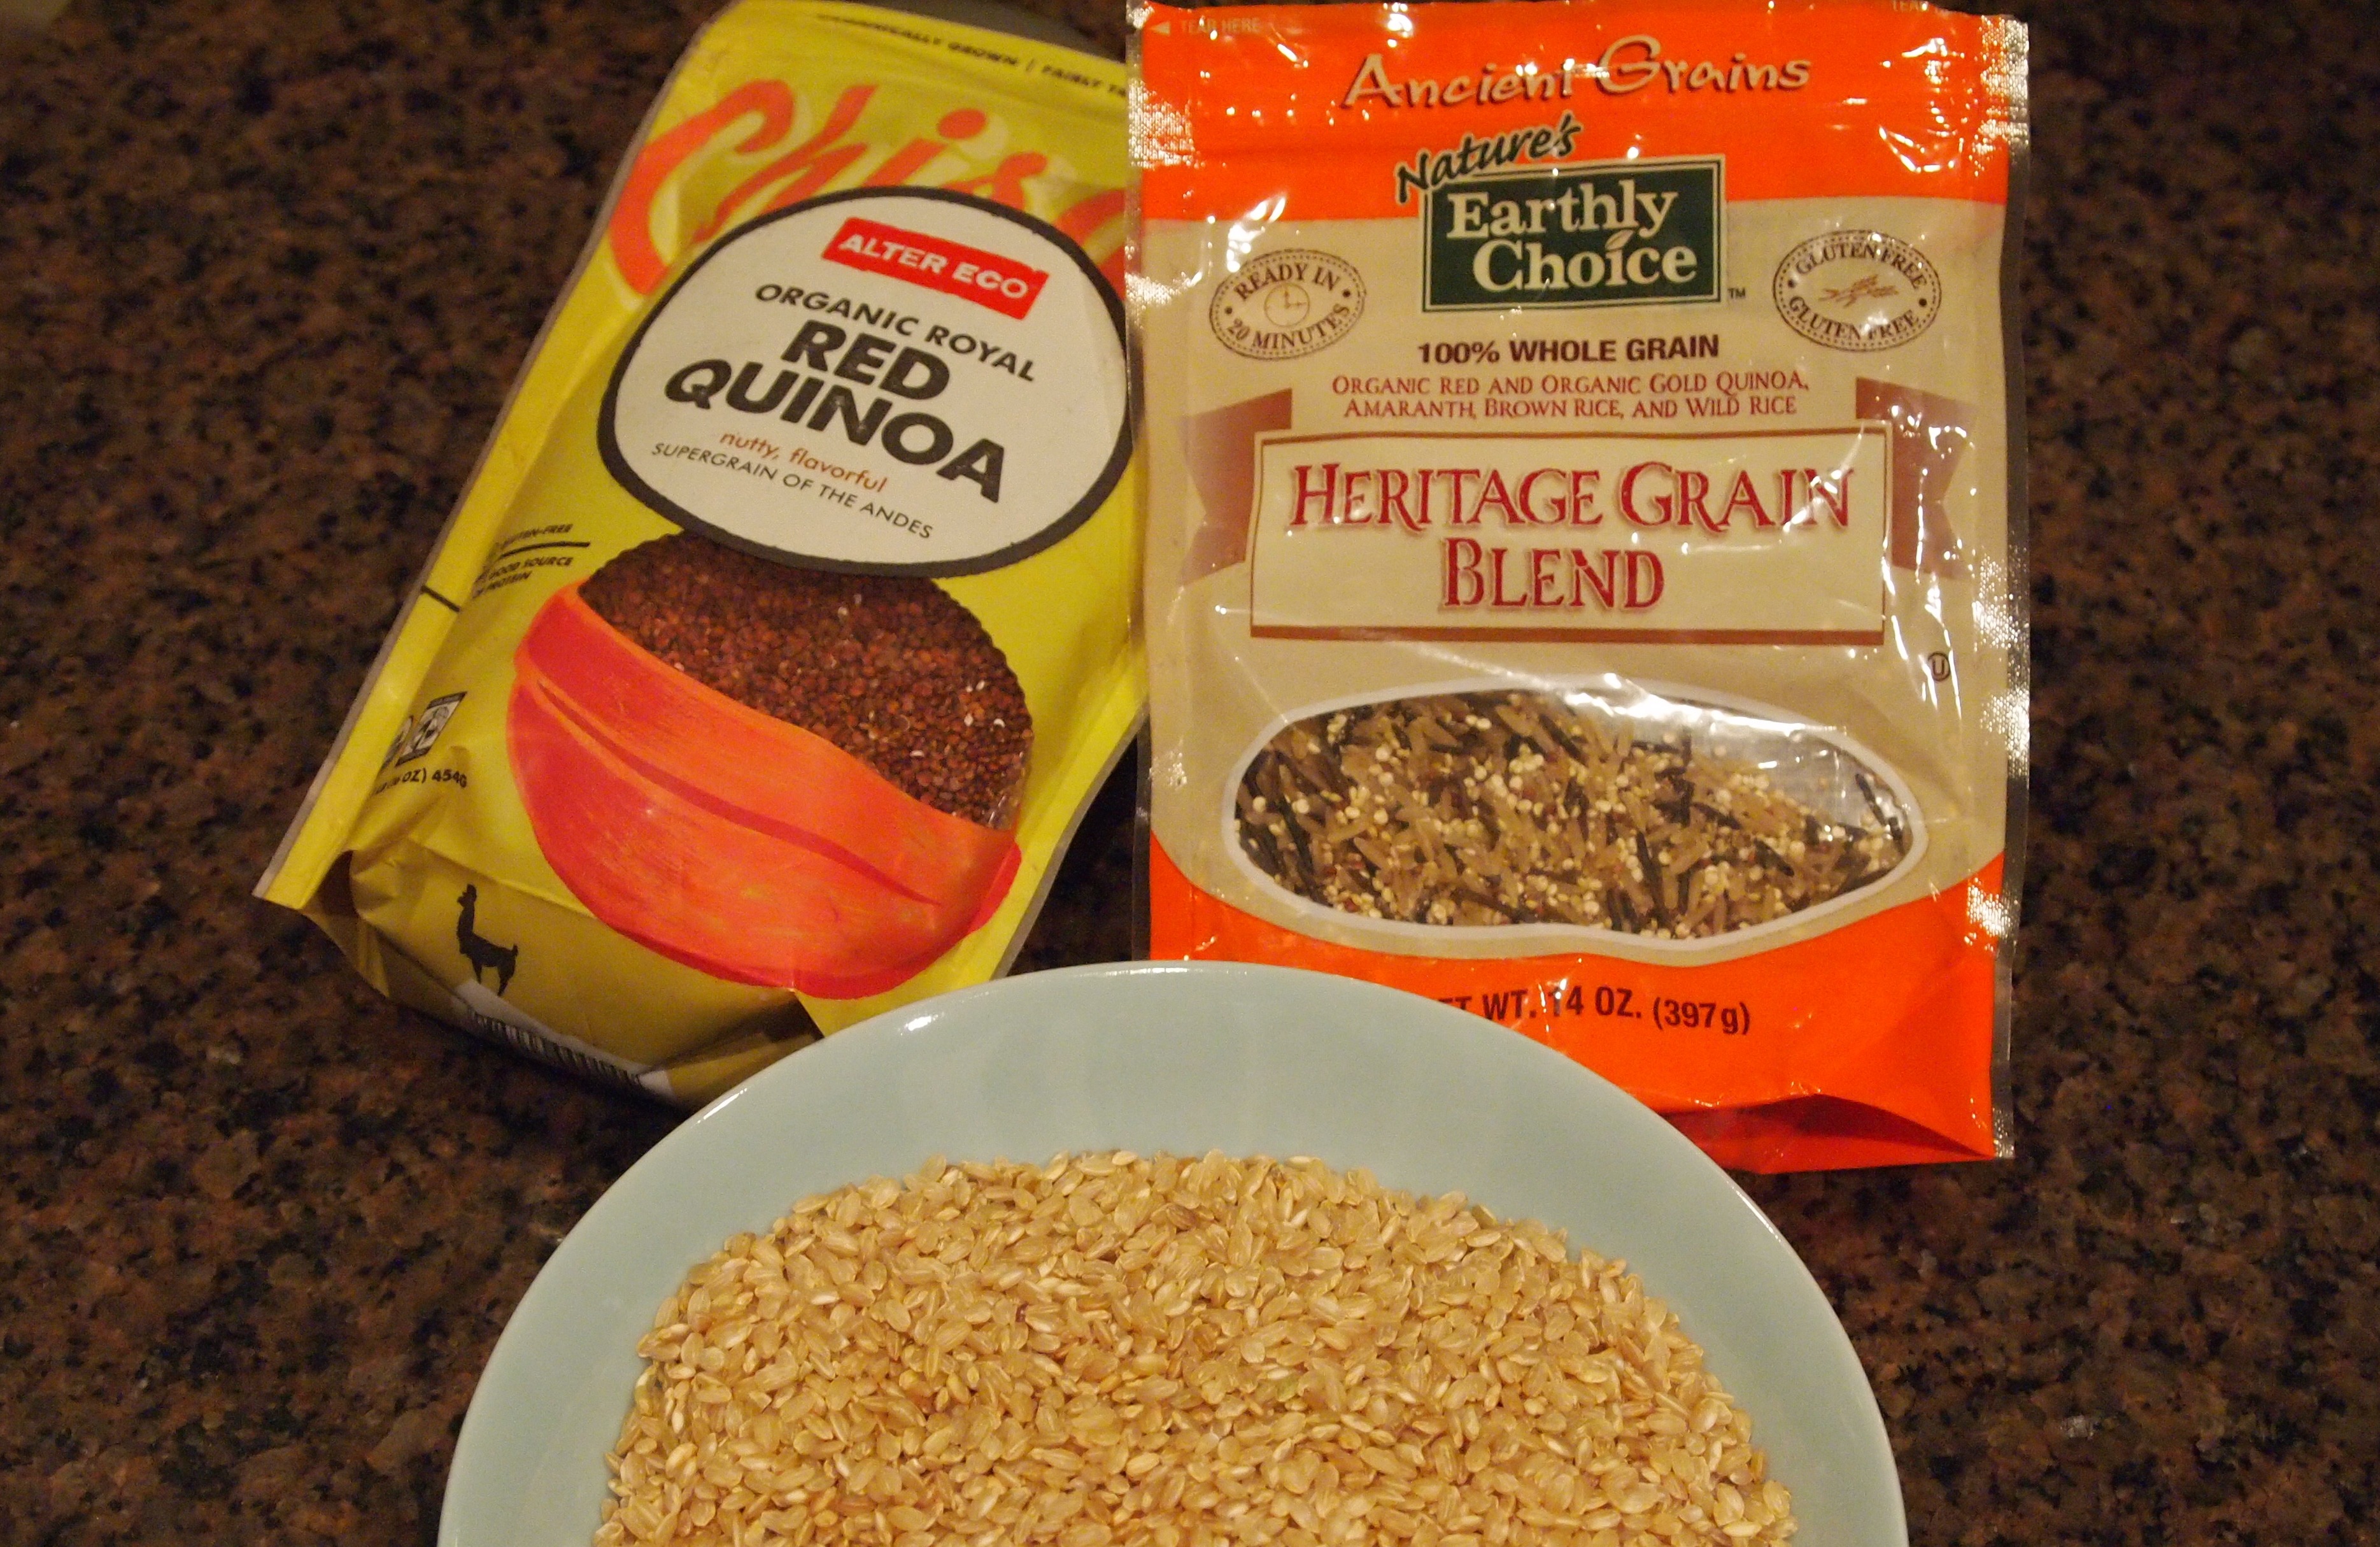
Let’s start with rice. There are many techniques for cooking it, and several variables that can affect the final product. Adjust the instructions for your circumstances:
- The type of rice. We recommend brown rice in our recipes because of the higher levels of fiber and nutrients. However, there are many types of brown rice from which to choose: long grain, short grain, basmati, Texmati®, and more. Long grain is typically the least expensive, but any will do. Choose whatever you prefer. We usually buy rice in the bulk section to save money. Follow our directions below for cook it. (If purchased in a package, follow the package directions.)
- The amount of rice you cook. Add a little more water and cook a few minutes less, when cooking under 1 cup of dry rice.
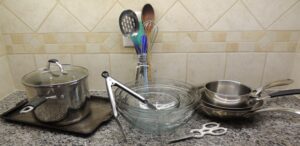
- The size and weight of the pan you use. The water is absorbed more evenly and quickly if using a wider based pan. Rice can burn on the bottom when cooked in a light-weight pan. Use a heavy pan if possible.
- Your stovetop. Electric heating elements can vary from one stove to the next. Gas takes longer to heat up, but has more flexibility on adjustments.
- Your altitude. Foods need more time to cook at higher altitudes.
NOTE: Other whole grains we like include quinoa, millet, and buckwheat groats. They are also affected by the above variables. Scroll down to see directions for each grain or pull up the individual recipes, found under Recipes: Grains.
Presoaking grains:
Presoaking grains improves their digestibility, but it’s not necessary. To presoak, place grain in a glass (not plastic) bowl and add about 3-4 times the amount of water (e.g., for 1 cup of grain, add 3-4 cups water). Cover and let stand overnight, or about 8 hours. Optionally, add 1/2 tablespoon lemon juice or apple cider vinegar per 1 cup of grain, to further break down the phytic acid, resulting in increased absorption of nutrients. Rinse, then cook according to instructions above, but cut the cooking time in half. Personally, we don’t do this, but many people swear by it!
| Prep Time | |
| 5 minutes |
| Cook Time | Passive Time |
| 40 minutes | 10 minutes |
|
|

Easy!
Inexpensive!
Serves:8people
Serving Size:about 1/2 cup, or less (makes a total of 3-4 cups)
|
⌘ “This technique takes a little less time than some. You can cook rice even more quickly in a lot of water, pouring off the excess, but you lose nutrients that way. This is a good compromise.” ~Bobbi
Tools:colander, large (4-quart) saucepan (Clear lids are great for cooking rice, so you can see how it’s doing without lifting the lid.)
|
- 1 cup brown rice (any type)
- 2 cups water or broth
- 1/4 teaspoon salt
- Rinse the rice in a colander to remove naturally occurring toxins like arsenic.
- Use a large or wide saucepan so the rice will have plenty of room to cook more evenly. If you have one, choose a heavy saucepan. Add water and salt, and bring to a full (rolling) boil. Add the rice and stir.
- Allow the water to boil again, then turn to low. Cover and simmer for 40 minutes. (Set the timer and don’t look. Turn down if it starts to boil over.)
- Remove from heat, keep covered and let stand 10 minutes, until water is all absorbed.
- Remove lid and fluff with a fork.
Chef's Tip: When cooking only ½ cup of a rice, you’ll need about 1-1/4 cups water.
| Prep Time | |
| 5 minutes |
| Cook Time | Passive Time |
| 15 minutes | 10 minutes |
|
|

Easy!
Moderate (compared to other grains, quinoa is one of the more expensive)
Serves:8people
Serving Size:about 1/2 cup, or less (makes a total of 3 to 4 cups)
|
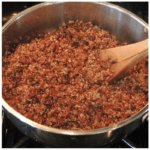
Quinoa comes in white, red, and black, but they are all cooked the same way.
Tools:colander, large (4-quart) saucepan (Clear lids are great for cooking grains, so you can see how they're doing without lifting the lid.)
|
- Rinse quinoa to remove the natural saponins that give it a bitter taste. (Some quinoa is already rinsed, which should be indicated on the package.)
- Use a large or wide saucepan so the quinoa will have plenty of room to cook evenly. If you have one, choose a heavy saucepan to prevent burning. Add water and salt, and bring to a full (rolling) boil. Add the quinoa and stir.
- Allow the water to come to a full boil again, then turn to low. Cover and simmer for 15 minutes. (Set the timer and resist the urge to lift the lid.) Turn heat down if it starts to boil over.
- Remove from heat, keep covered and let stand for 10 minutes.
- Remove lid and fluff with fork.
| Prep Time | |
| 5 minutes |
| Cook Time | Passive Time |
| 15 minutes | 10 minutes |
|
|

Easy!
Inexpensive!
Serves:8people
Serving Size:about 1/2 cup, or less (makes a total of 3-4 cups)
|
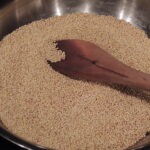
Millet is an inexpensive whole grain that cooks up much more quickly than brown rice. Try it!
Tools:colander, large (4-quart) saucepan (Clear lids are great for cooking grains, so you can see how it’s doing without lifting the lid.)
|
- No need to rinse millet. You can toast it first for a nuttier flavor, or not. *Optional: To toast, heat a skillet over medium heat. Add millet, stirring frequently. It will start popping and begin to smell fragrant and golden brown (about 3-5 minutes). Do not let it burn! Remove from heat and pour into a glass bowl to cool, or immediately pour into a large saucepan of boiling water.
- Use a large or wide saucepan so the millet will have plenty of room to cook more evenly. If you have one, choose a heavy saucepan to prevent burning. Add water and salt, and bring to a full (rolling) boil. (You can do this while you toast the millet.) Add millet, toasted or not, and stir.
- Allow the water to come to a full boil again, then turn to low. Cover and simmer for 15 minutes. (Set the timer and don’t look. Turn down if it starts to boil over.)
- Remove from heat, keep covered and let stand for 10 minutes.
- Remove lid and fluff with fork.
Chef’s Tip: For creamy millet, use 3 cups water. Lift the lid and stir frequently while it’s cooking. Increase the cooking time by 5 minutes if needed.
